Visual Studio Codespaces and Gatsby Development
Setting up Gatsby Development using Visual Studio Codespaces
Recently, I have set up my personal blog site using Gatsby and Visual Studio Codespace.
In this article, I will explain how you can set up development environment in no time using Visual Stuido Code spaces.
Visual Studio Codespaces
Visual Studio Codespaces provides cloud-hosted development environments for any activity. You can create a new Codespace through Visual Studio Codespaces or by signing up for the GitHub beta. You can connect to Codespaces from Visual Studio Code.
I have created 2 Visual Studio Codespaces, one for SharePoint Development (SPFX) and other for React Development.
Note
You must sign up for the Private Preview and have an Azure Subscription to try this quickstart.If you don’t already have an Azure Subscription, create one at https://azure.microsoft.com/free/.
Let’s talk about Gatsby Development environment using Visual Studio Codespaces.
Visual Studio Codespaces
Cloud-hosted dev environments accessible from anywhere. Idea was to develop from anywhere, anytime without thinking about infrastructure and development environment.
Log into visualstudio Online
Option 1 : Using Browser
Click on “Create CodeSpace button” and spin up new environment. By default it lasts for 30 mins and it gets suspened.
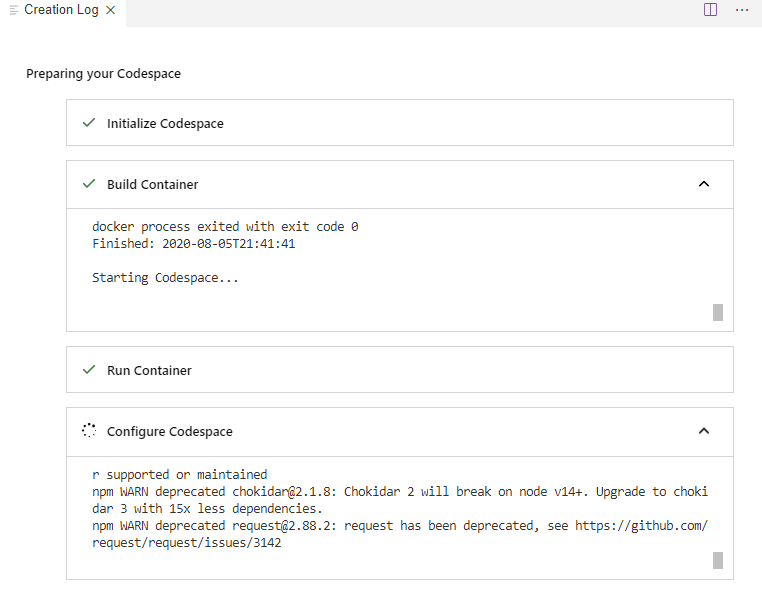
Developer environment would be there in few seconds.
Now you are good to run the code using visual studio online.
Depending up on solution configuration, additional packages should be installed.
In my case I had nvmrc file with version v10.16.0 and it need to be installed.
Run Yarn install to intsall all node modules.
Yarn InstallFinally, the fun part where we are gonna run Yarn Start to run the application
Yarn StartApplication was successfully built and port was forwarded.
I was super excited to application, but it returned me blank screen for the port 8000.
https://online.visualstudio.com/port-forwarding-sign-in/XXXXXXXX?port=8000&cid=XXXXXX
When it goes to the forwarding port it returns a blank screen.
When you check the source, it is loading the initial page but not injecting the code into the browser.
Current port forwarding solution in the browser has a lot of limitations. For instance, websocket connections don’t work. You can get around that by installing the Codespaces extension in VS Code on the desktop and connecting from there.
This was the reason I had to go with open 2 to install the extensions on desktop vs code
Option 2 : Using VS Code Extension
Install following extensions to start with.
- Azure Account
- Visual Studio Codespaces
Azure Account:-
Visual Studio Codespaces Extension:-
Now we are ready to create new codespace using remote explorer
Use the command view and type in below command
Azure: Sign InIt will bring up browser to login, where you can account which has azure subscription.
Go to the remote explorer and spin up new codespace environment.
List of codesapces
Open the workspace and run Yarn Install and Yarn Start
Yarn InstallYarn StartAt the end, I had to be content with running code from remote explorer.
Benefits
- your build times and run times are super fast
- Don’t need to worry about setting up tools on your local machine
- It costs only few cents when you want to update code for any demos.
Hopefully, port forwarding issue would be fixed and then it would be fantastic news for development community.


